-
Brompton M3L 2021
When I first moved to London I thought that Bromptons, the classic folding bikes, were dorky. Perhaps they still are, but I’ve now sold myself on the idea that they’re great.
I got one through my work cycle scheme last year to replace my gravel bike as a commuter. I opted for a plain black, 3 speed, upright handlebars (M), with dynamo lighting; all selected to minimise faff.
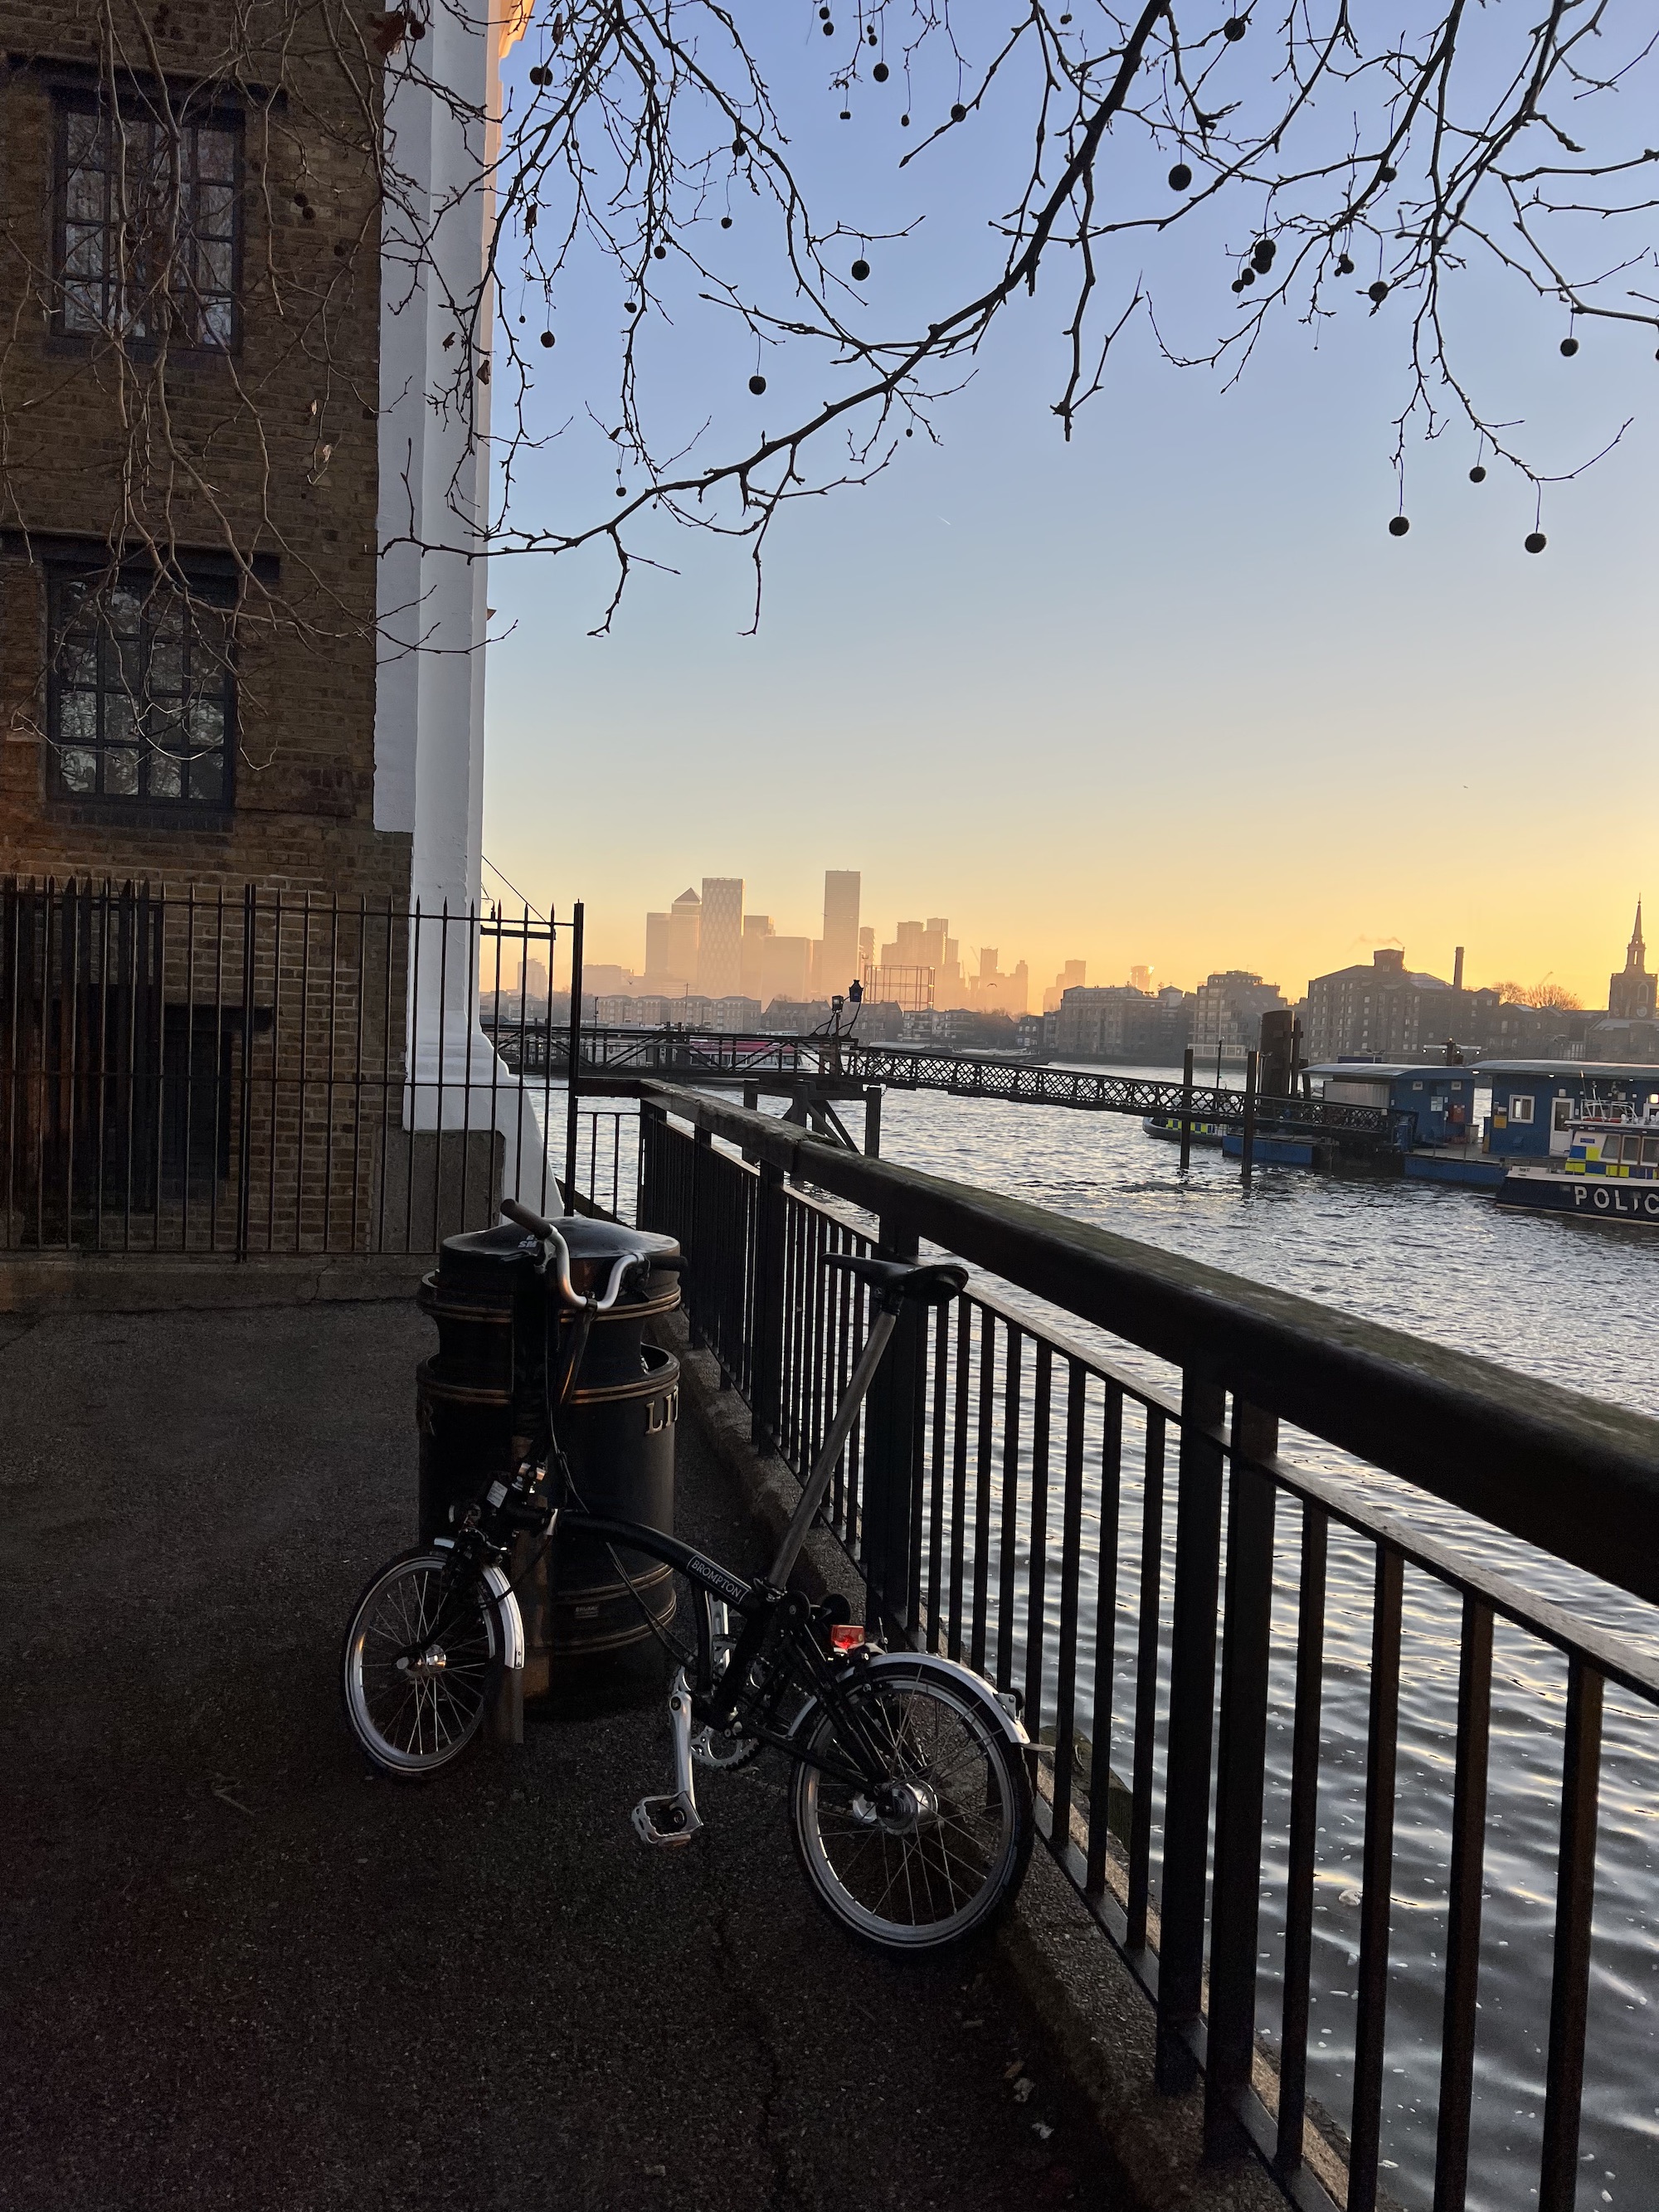
It is a delight to ride this bike. It feels nimble despite its small wheels and a rather heavy composition. The more upright position feels safer than my road bike, without feeling like every pedal is a slog. The fold of the bike is cleverly designed such that when unfolded, the rear triangle of the frame rests upon the down tube via a rubber ‘ suspension block’. This block cushions the ride, and when combined with a long seat post like mine, makes for a comfortable road feel.
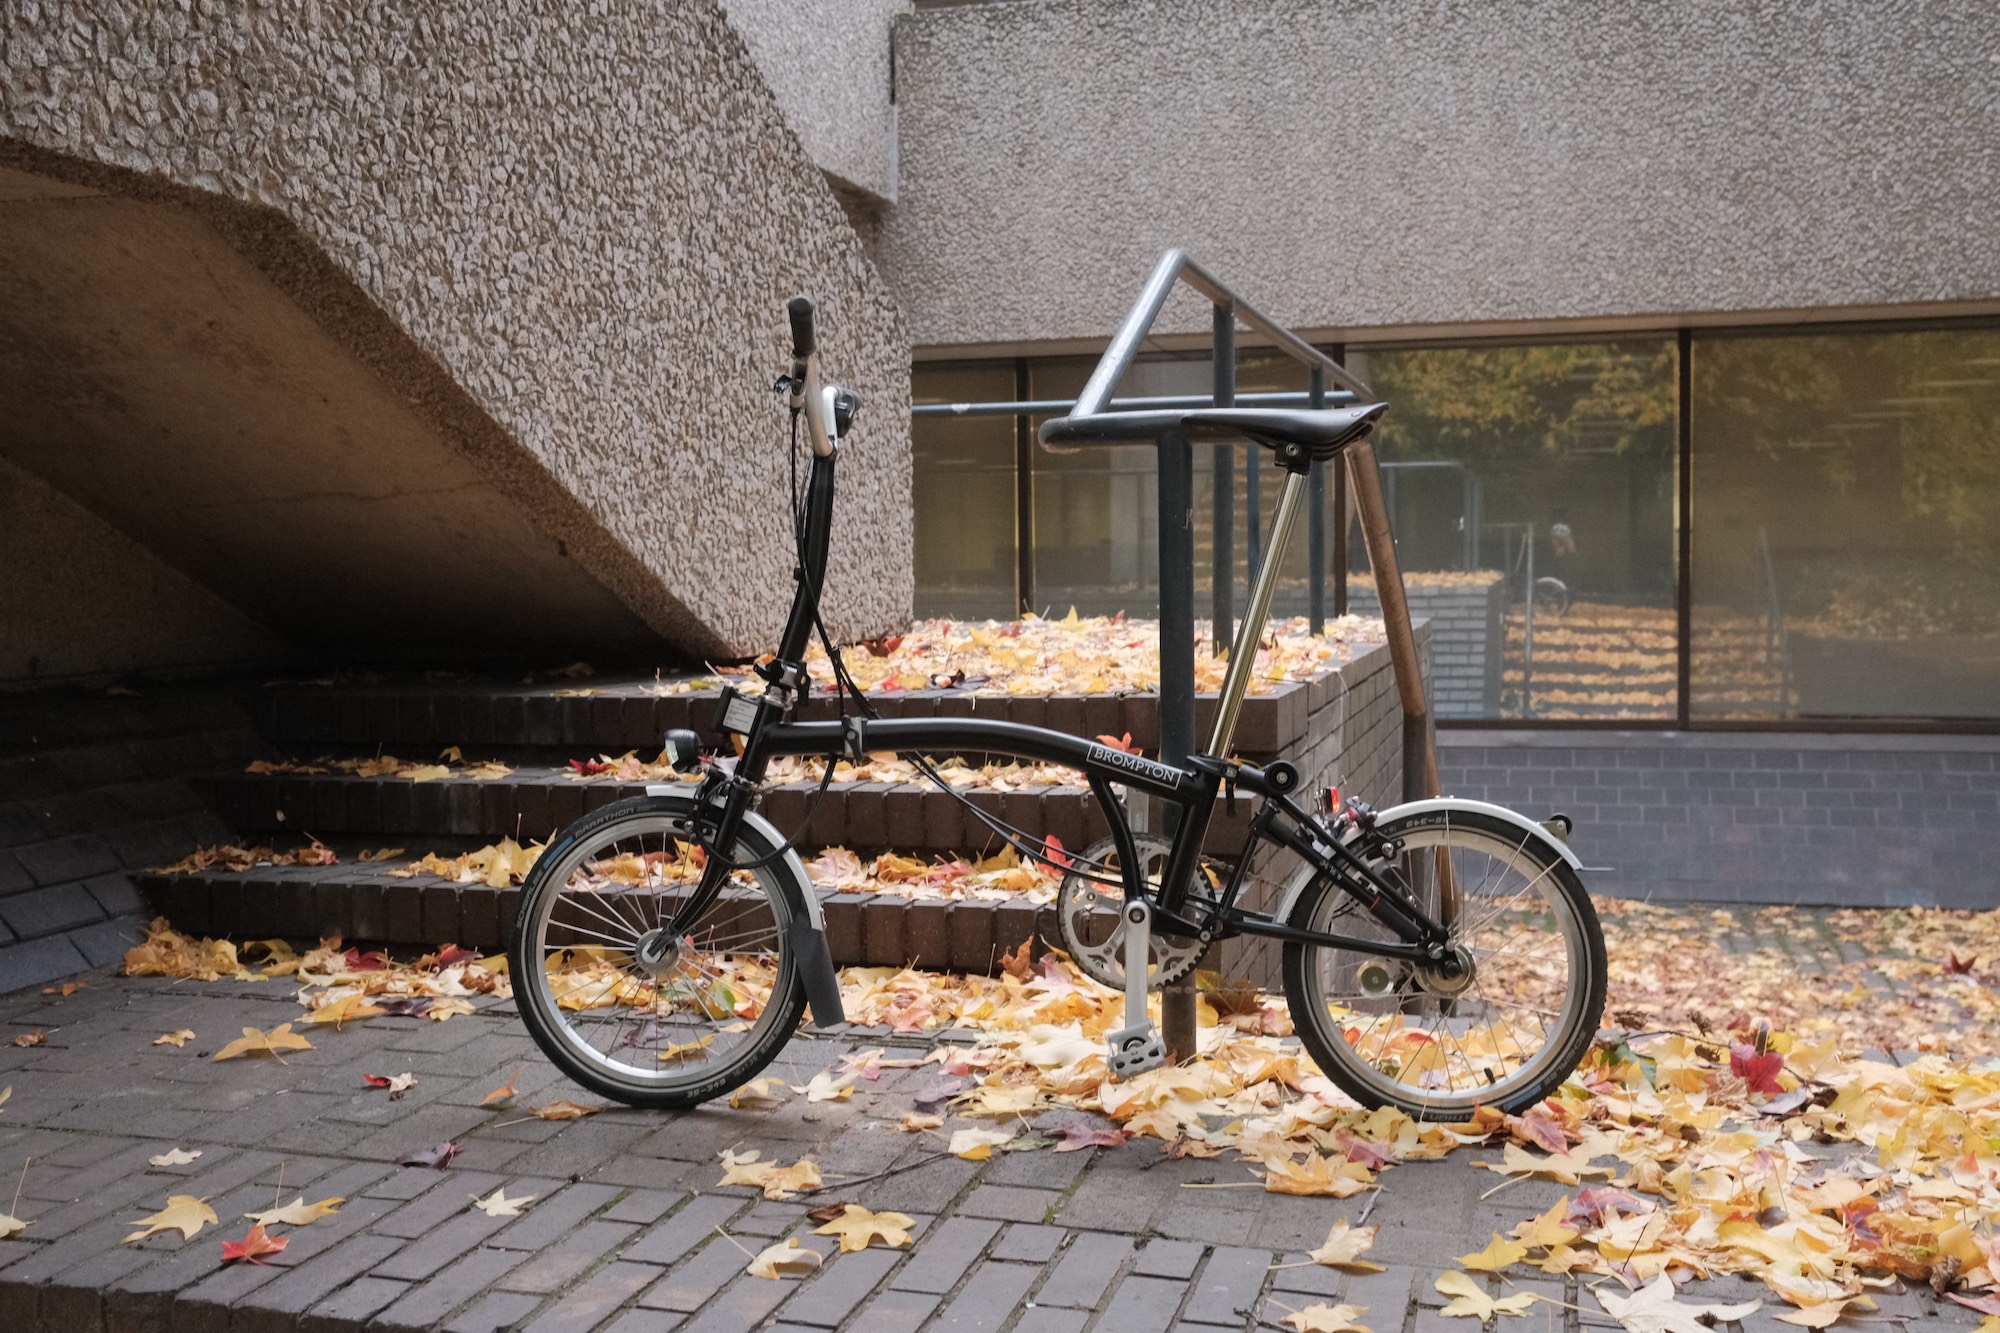
Speaking of the seat post, the standard seat post that came with my M3L was a little too short for me. I’m around 1.85m tall, and felt like I could do with an extra inch or so of extra legroom. As the bike is already somewhat weighty, I started shopping around for titanium seat posts. Reading reviews, several people highly recommended a few in the £200-£300 price range, which was a bit more than I hoped to spend. I later settled for a 600mm one from eBay for around £80, and I’ve no complaints about it. It’s lighter than my old, shorter aluminium seat post, it rides comfortably and has been the ideal length for me.
The folding mechanism on a Brompton is brilliant, which makes sense given that they’re still using the same design 30 years later. I can fold it in a few seconds, faster than it took me to get a D-lock out of my bag and lock up my gravel bike. This makes it easy to stop in at the supermarket on the way home or take my bike into the pub - or the Royal Opera House, which I did the very day I bought it. The novelty of simply bringing my bike with me is yet to wear off.
Additionally, when you don’t want to be carrying the bike around too much, you can leave the handlebars up and use them to push the bike around using the small roller wheels just below the saddle. I opted to upgrade to the easy roller wheels, and while I wouldn’t say they’re that easy rolling, any assistance in pushing it around London’s bumpy streets is welcomed.
As for accessories for other accessories I’ve added, I’ve got a Peak Design magnetic mount so that I can check directions etc on my phone as I go (which I’ve described in more detail in an earlier post). It just fits into the space beside my left brake leaver and does a great job - I always get comments from people about it. I’ve also just this week received the Metro Bag as a very nice Birthday present, I’m yet to use it on the bike, however, my first impressions are very good.
If you’re reading this and you’re on the fence about getting a Brompton, I don’t regret my purchase at all, I’d highly recommend it - I’m even considering upgrading to a lighter model when my Cycle Scheme comes round again.
-
Property Wrappers & Swift Codable
Codable Primer
Swift has a handy
Codabletype that allows you to describe how to serialise and deserialise a type to some other structure, such as JSON. Just by conforming your type to the protocol, Swift will infer how to serialise and deserialise that type according to its properties (so long as all those properties also conform toCodable).For example, if I were to have the following JSON & Swift struct that represents a bike:
JSON Swift { "brand": "Specialized", "model": "Aethos Comp", "wheel_size": "700" }struct Bike: Codable { let brand: String let model: String let wheelSize: Int }So long as I use a Decoder that’s set up with a decoding strategy of
.convertFromSnakeCase, then I don’t need to writeCodingKeysor ainit(from decoder:)method. This is super handy, albeit a little ambiguous.Property Wrapper
Unfortunately, if any of your properties don’t work with Swift’s automatic coding, then you need to write all of your
CodingKeysand/orinit(from decoder:). There’s no way to override the default for one property, it’s all or nothing - which leads us to Property Wrappers.Property Wrappers are structs that you define in Swift that you can use as annotations for variables.
When you interact with a variable that is annotated with a Property Wrapper, you are actually reading a computed value on the Property Wrapper called
wrappedValue. If you need to access the underlying wrapper itself, you can use_yourVariable, which is a variable that Swift synthesizes to allow you to do just that. Beyond that, you can optionally define aprojectedValueon the Property Wrapper, which is a different variable, of any type, exposed by the$yourVariablesyntax.Apple uses these property wrappers in their implementation of
Publishedwhich is used heavily in SwiftUI. I wrote about using the same for RxSwift’s various Subjects a year or two ago, before I realised Apple did the same, likely some subliminal thinking there on my part.So, Property Wrappers + Codable, why?
You can conform a Property Wrapper itself to Codable, which allows you to write whatever custom decoding logic for a type once, then re-use that logic for that type multiple times.
An example of when you might need this would be the
Decimaltype in Swift (read about why you’d want to useDecimalin this great Jesse Squires blog post).If you have a JSON response containing a String that represents a Double value, Swift by default will fail to decode the value. You’ll get an error like the following:
Expected to decode NSDecimal but found a string/data instead.We can write a custom decoder that tells Swift to first try to decode the Decimal normally, but failing that, try and decode a string and initialise a Decimal using that.
init(from decoder: Decoder) throws {
    let container = try decoder.singleValueContainer()

    do {
        self.value = try container.decode(Decimal.self)
    } catch let error {
        let stringValue = try container.decode(String.self)

        guard let decimalValue = Decimal(string: stringValue) else {
            throw StringInitableError.stringIsNonGenericType(underlyingError: error)
        }

        self.value = decimalValue
    }
}
Combining this with a Property Wrapper, we can define something that lets us re-use this logic for any type that might be represented as a String using JSON.
import Foundation

@propertyWrapper
public struct StringValueDecodable<T: Equatable & Codable & StringInitable>: Codable, Equatable {

     public var wrappedValue: T

     public init(wrappedValue: T) {
         self.wrappedValue = wrappedValue
     }

     public init(from decoder: Decoder) throws {
         let container = try decoder.singleValueContainer()

         do {
             self.wrappedValue = try container.decode(T.self)
         } catch let underlyingError {
             let stringValue = try container.decode(String.self)
             guard let decimalValue = T(string: stringValue) else {
                 throw StringInitableError.stringIsNonGenericType(underlyingError: underlyingError)
             }
             self.wrappedValue = decimalValue
         }
     }

     public func encode(to encoder: Encoder) throws {
         try wrappedValue.encode(to: encoder)
     }

}

public enum StringInitableError: Error {
    case stringIsNonGenericType(underlyingError: Error)
}

public protocol StringInitable {
    init?(string: String)
}

extension Decimal: StringInitable {
    public init?(string: String) {
        self.init(string: string, locale: nil)
    }
}
If we take our bike example from earlier, say our third-party API started returning
wheel_sizeas a String so that they could represent highly precise numbers. We could update our struct as follows and keep it working with minimal changes:struct Bike: Codable { let brand: String let model: String @StringValueDecodable var wheelSize: Decimal }Ideally, the types that you’re trying to decode would always align with the JSON type you’re decoding. But sometimes you might not have control over the JSON response, or you might not have control over the decoder of your type, as is the case with Foundation’s
Decimal. Regardless, I hope the above gives you an idea about options available to you using bothCodableand Property Wrappers. -
Phone Bike Mounts (2022)
Previously I posted about the Fidlock Vacuum case. Since that post almost a year ago, I’ve purchased the Peak Design Mobile Case, Out Front Mount and Universal Bar Mount. I’ve now tried phone mounts from Quadlock, Fidlock and Peak Design - and the Peak Design setup is my favourite, here’s why.
The Peak Design Mobile Mount checks off all the boxes I’d hoped for:
- You can easily mount and unmount your phone. Initially, I was using a Quadlock but it’s annoying trying to line your phone up at the right angle.
- The case isn’t bulky. The case is slim and doesn’t add a big lump to the back of my phone.
- You can still charge with MagSafe. This case is fully compatible with MagSafe. Whilst I don’t really see any advantages in a MagSafe cable, I’ve got a MagSafe Powerbank which is handy to chuck in a pocket without needing to bring a cable.
Having used a few products now, I’d say that if you want MagSafe, get a Peak Design. Otherwise, the Fidlock is the best phone mount available. Its suction cup is very easy to use and it gives total confidence that your phone has been attached properly. With the Peak Design, there are times I’ve put it down and not been 100% sure that the clip mechanisms have fully attached.
Peak Design Mobile is designed so that your phone can only be placed at 90º increments. You need to remove and re-attach your phone to rotate it. With the Fidlock Vacuum, you can rotate your phone a full 360º whilst it’s held in place. This has been handy for days I’ve been on the trainer and I put Netflix on my phone, I can easily swivel it round as needed to go into Wahoo etc. However, it can be annoying if you can’t get the case to lineup completely straight, something that isn’t a problem on the Peak Design.
Another benefit of Peak Design Mobile is the ecosystem of products available. I have the Out Front Mount for my road bike and also the Universal Bar Mount - which just squeezes onto my Brompton handlebars such that I can still fold the bike without it getting in the way. Both of these have been great so far and there are a plethora of other (somewhat expensive) mounts for me to choose from in the future. With Fidlock, their original demo video showed off a bunch of products that are yet to be released; and it was months after the latest iPhone release before they had a case available. Their marketing of products and communication on availability seems sparse and I’m not sure I’d want to buy several expensive mounts from them only to find they aren’t planning on supporting your future phone.
I’ve largely ignored Quadlock in the comparisons on this post, largely because I don’t think that it’s even worth comparing to the other two mounts (other than perhaps price). I keep seeing them around - they make the only official Brompton phone mount, Cowboy E-Bikes are building a Quadlock into the stem of their new bike; they were heavily featured in Apple TV’s The Long Way Up. They’re undoubtedly popular, but having used the product I feel like they’re better marketers than product makers.
So, that’s my ramblings on a rather niche type of product. I’ve not added picture comparisons or anything, I imagine you’ll be able to find those elsewhere, but feel free to email me if you have any questions and I’ll do my best to get back to you.
-
Fidlock Vacuum Bike Mount
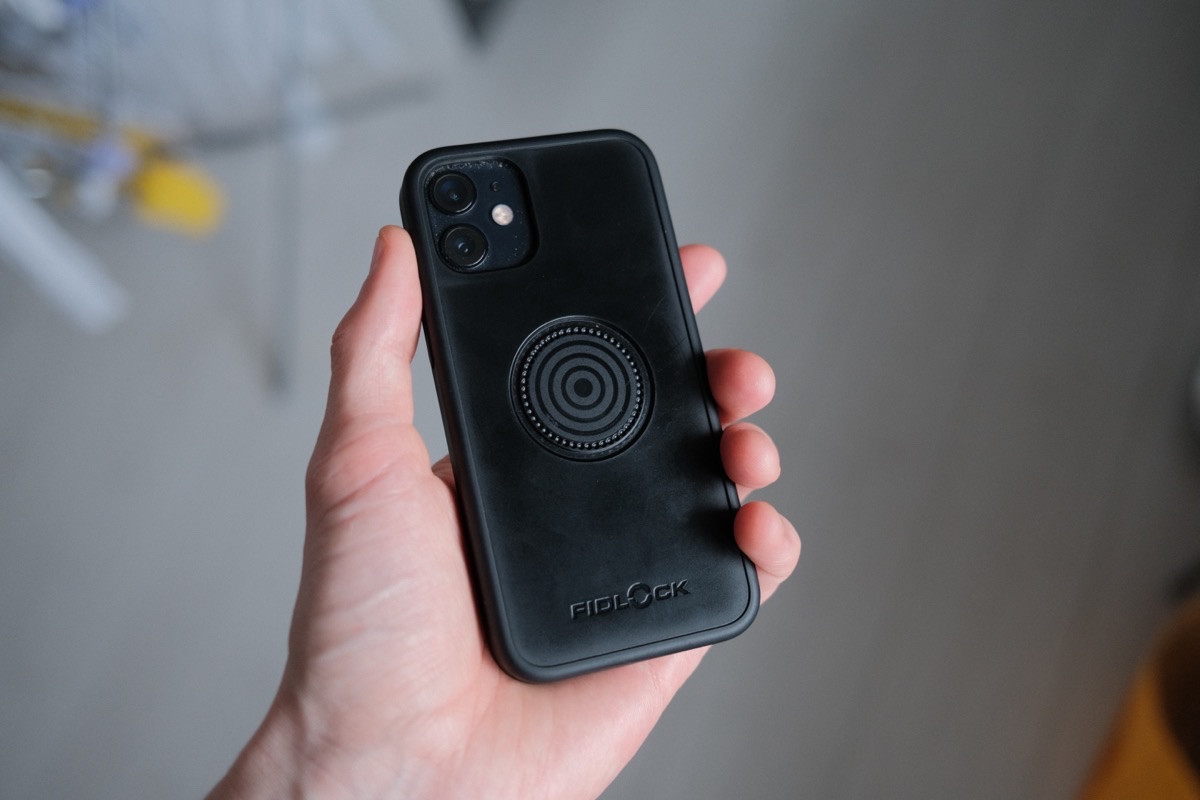
I recently swapped from using a QuadLock phone mount for my bike to a new Fidlock Vacuum case. Before ordering the Fidlock case, I couldn’t find out much information about the case online, here are my thoughts.
This case is great. It’s slim as phone cases go, the magnet system means there’s no extra bulk on the back like you get with other bike mount systems.
The volume and lock buttons are easy to press, they’re not ‘dampened’ like you find in other products. There is also a decent border around the front of your phone’s screen, which should protect it should you drop the phone.
The case does not work with MagSafe on the iPhone 12 and later models. The magnets on the back of the case don’t align with the MagSafe charger and I could never get it to stick on in a way that would charge the phone.
I purchased the stem cap base for mounting my phone, you can get a handlebar based one, but I was worried it wouldn’t be big enough for my handlebars. I don’t like where the phone sits with the stem mount, I much preferred the position on the ‘out front’ Quad-lock mount, which avoids you craning your neck down as much to see the screen.
The Vacuum system itself is brilliant. The case and baseline up perfectly every time, which is much easier than trying to rotate and push down at the correct angle on a Quad-lock mount. The connection feels secure too, if I had a lighter bike I imagine you could lift it by the phone itself.
You can rotate the phone 360 degrees whilst it’s attached to the mount. I use this a lot when on my turbo trainer, I can watch videos in landscape and then quickly rotate to portrait when switching to other apps. I do wish it didn’t rotate so easily though, I’ve often knocked it whilst cycling and then have to re-centre it, and it doesn’t always sit perfectly centre - it rotates in increments and can sometimes be at ~91 degrees on one increment, but ~89 degrees at the next one.
Releasing the vacuum is as simple, you push down on a collar whilst you pick up the phone and it releases. This is can be done even whilst wearing thick gloves.
-
Typescript at Freetrade
I recently wrote a post on the Freetrade blog about some interesting ways we use Typescript, you can check it out here.
-
Camera Strap Cycling Setup
When I go out on my bike, when possible, I like to bring my camera. However, a normal camera strap doesn’t keep your camera still, it slides round into front of you and likes to catch you right on the funny-bone.
I had a search for camera straps for bikes and watched a few YouTube videos. I only found one strap actually for sale and it didn’t look like it held the camera securely and required a couple of hands to get your camera out.
These are the things I was looking for in a strap:
- Holds a camera in one place and prevents it swinging
- Doesn’t inhibit access to the camera (ideally can get to the camera with one hand)
- Easy to put on - I don’t want to feel like I’m getting into a harness
- Easily removable - when I’m not on my bike, it should be usable as a normal strap
Eventually, after watching this video, I decided to make my own. I found the components on a website called Contact Left for less than £7.
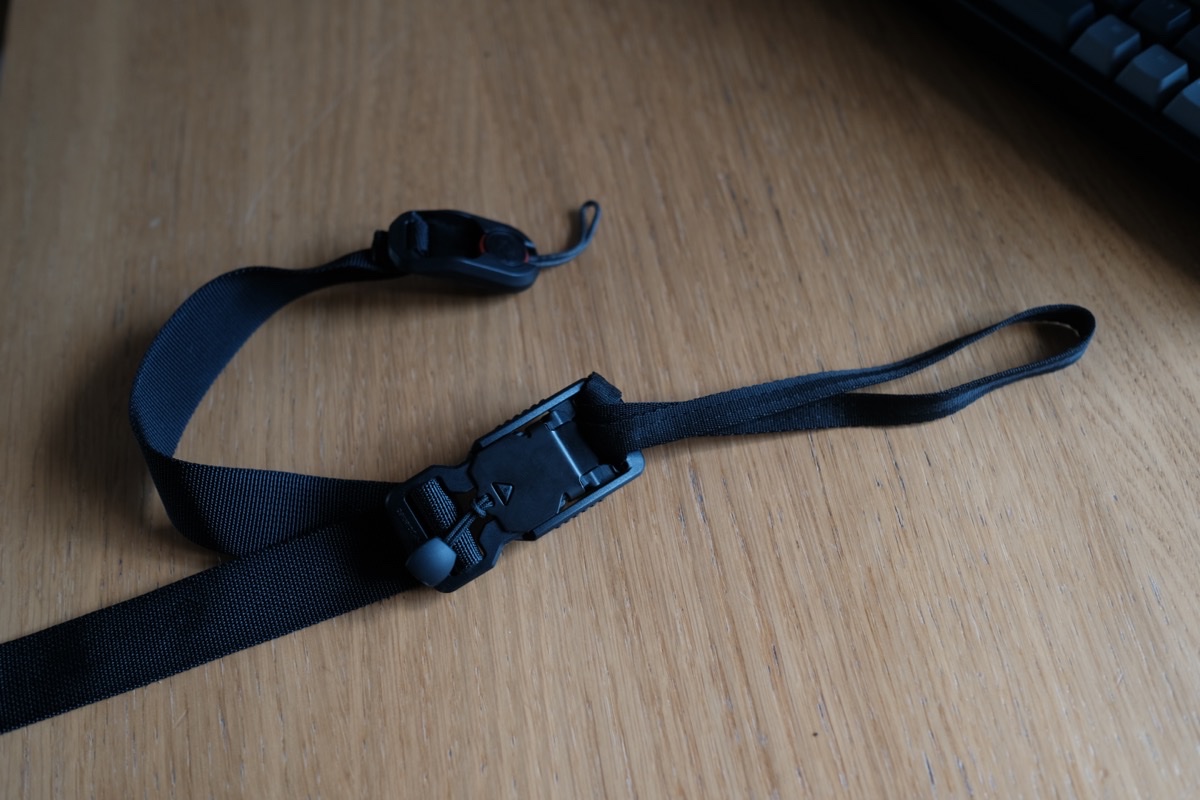
The strap is comprised of:
- A Fidlock V-Buckle, a great little magnetic buckle that you can connect quickly with one hand.
- A piece of 25mm nylon
- A peak design anchor clip
The peak design anchor was one I had spare which came with my Everyday Backpack, but you can order them online for under £10.
The setup is as following:
- Attach a Peak Design anchor point to your camera
- Attach the Peak Design anchor to a length of Nylon (I used a 25mm strap, folded over to fit through the anchor)
- Attach the other side of that nylon to one side of the Fidlock Buckle
- Attach the otherwise of the Fidlock buckle to a loop of nylon. For this, I’m using the piece of Nylon that came with my bag, but you could use another 25mm piece if you can get attach some velcro or similar to it so that it can you can attach it to your existing camera strap
- Loop that other piece of nylon behind your existing camera strap and then back through itself
- Connect your buckle and you’re ready to ride!
I’ve video’d how it looks along with a brief explanation here