-
Muji Water Repellent Trainers
Recently whilst on holiday in Milan I stopped in at a Muji store to buy some trainers I’d been looking at online. I‘ve now had them for around a month and I thought I’d lend my thoughts to any others browsing the internet for info on them.
I went for a white pair of these shoes, though the black and the navy also looked great. It’s a subtle off-white that I think is far nicer than any ‘pure white’. If you have seen the 1970s Chuck Taylor’s that Converse put out recently, you’ll know what to expect.
My only criticism of these shoes thus far is that they scuff really easily. At first I was trying to scrub off any marks from the front lip of the shoe. However, two weeks in I gave up and just let the dirt have its way.
They say the shoes are water repellent but I don’t think you’ll ever see that in effect or see its benefits. This repellency does not apply to the small pieces of dirt that shoes pick up day to day, and it is this that you will notice.
I’ve had no issues in particular with comfort, these feel as comfortable as any Converse that I’ve had in the past.
Speaking of Converse though, these shoes are a bargain. They retail for £25 - the equivalent Chuck Taylors are £65 - and I can’t say I’ve any issues with their build quality. However, there is a question to be asked with how they can make shoes this cheap. It seems unlikely they can make these whilst being ethical and ecological but nonetheless, I don’t imagine Converse do any better.
I’ve only had these shoes a short period of time, but I shall try and update this at some point to note how they’ve held up over time, and also just to add some more photos as Muji’s website photos are as minimal in numbers as their products are in style.

-
Slap and Fold
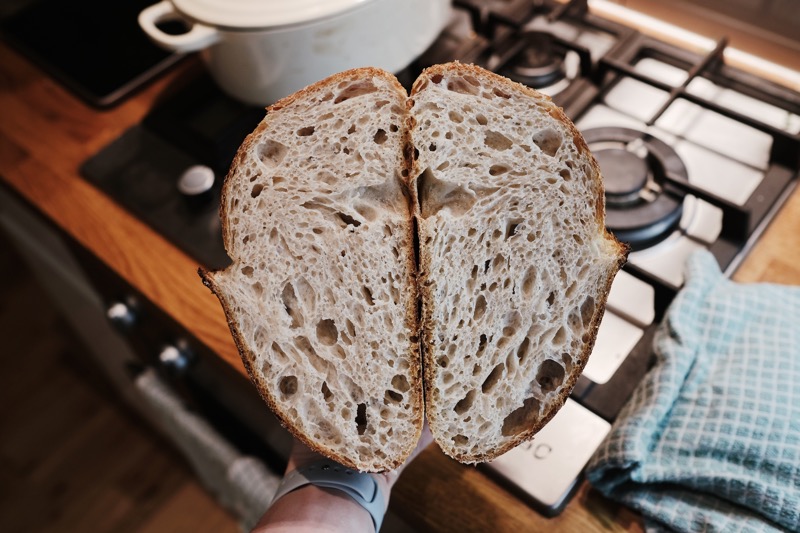
Following my improvements of bread in my recent posts, I bought and read Trevor Jay Wilson’s Open Crumb Mastery. The key takeaway I got from reading it was that I don’t get nearly enough gluten development in my dough.
The lack of gluten development in my dough means that when stretched, the dough will burst rather than bubble. This is what is limiting the size of air pockets in my dough - or the ‘openness of the crumb’. This weak gluten is also a key factor in causing my loaves to spread out once I start to bake them. A stronger dough will hold its shape and stand tall, whereas a weaker one will spread out quickly.
I typically always used two things to develop the gluten in my dough. These were ‘time’ and sets of ‘stretch and folds’. I learnt this from “Tartine Bread”, “The Perfect Loaf” and “Flour Water Salt Yeast”. It’s a really popular way to make bread just now. However, I can’t seem to get the same results as others do with this method. I’m imagining it’s related either to the temperature of my kitchen, the quality of gluten in the flour I’m using, or the technique and frequency of my stretch and folds.
My new approach for developing gluten uses what’s commonly called a “slap and fold” technique. It involves you putting a wet dough on your countertop, picking it up by two sides, slapping the bottom edge down on the counter and quickly folding the bit you are holding down over the top of the dough. You then turn your hands 90 degrees and pick up the dough from the right and repeat the same motion to fold it in the opposite direction.
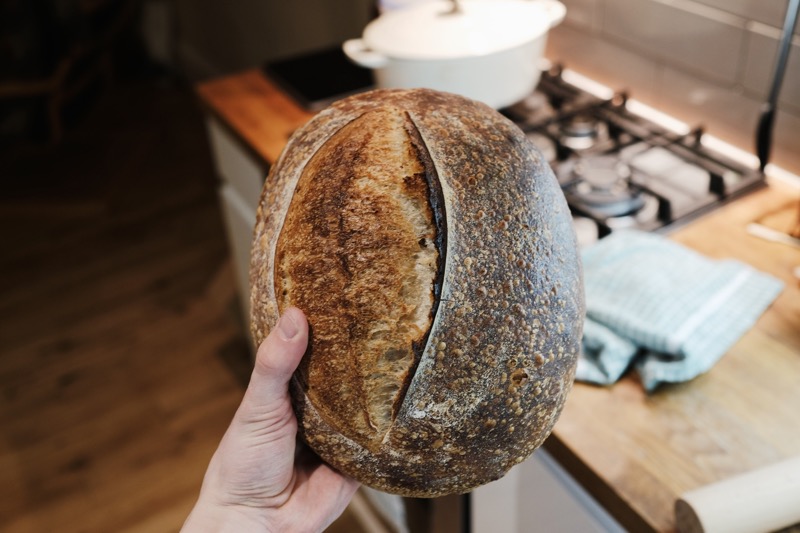
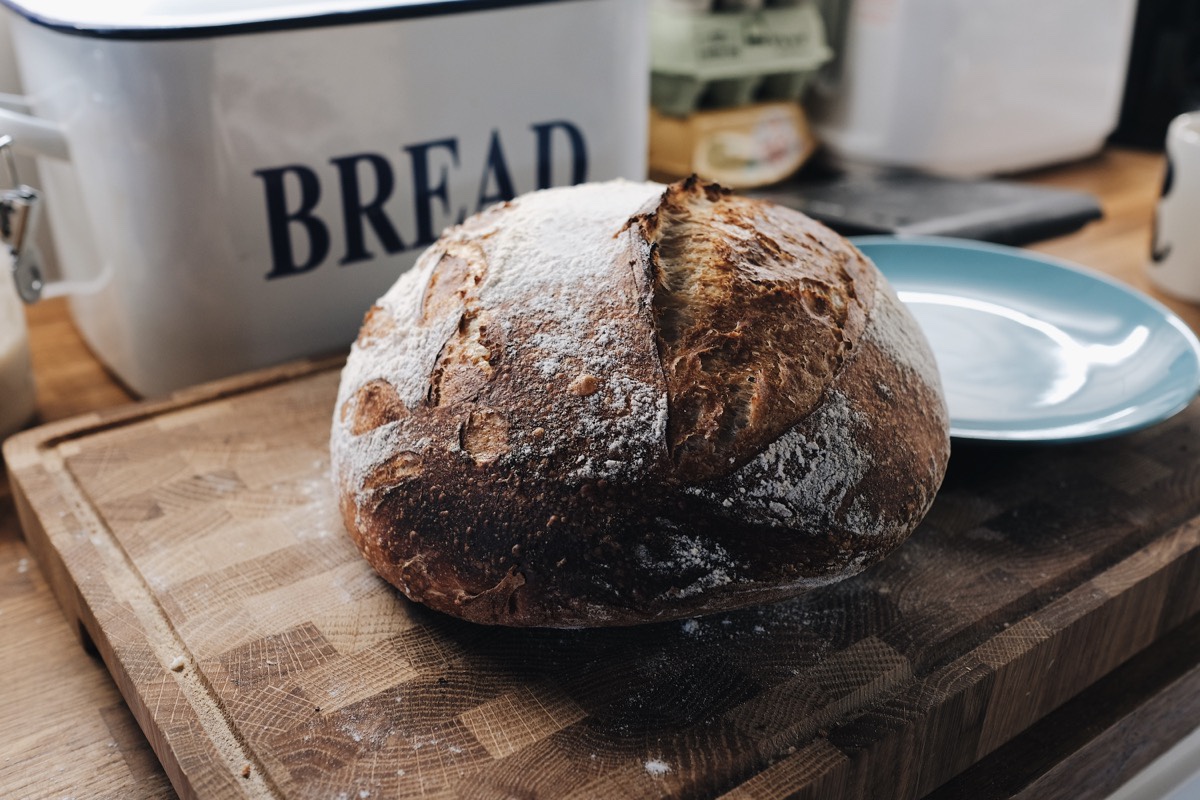
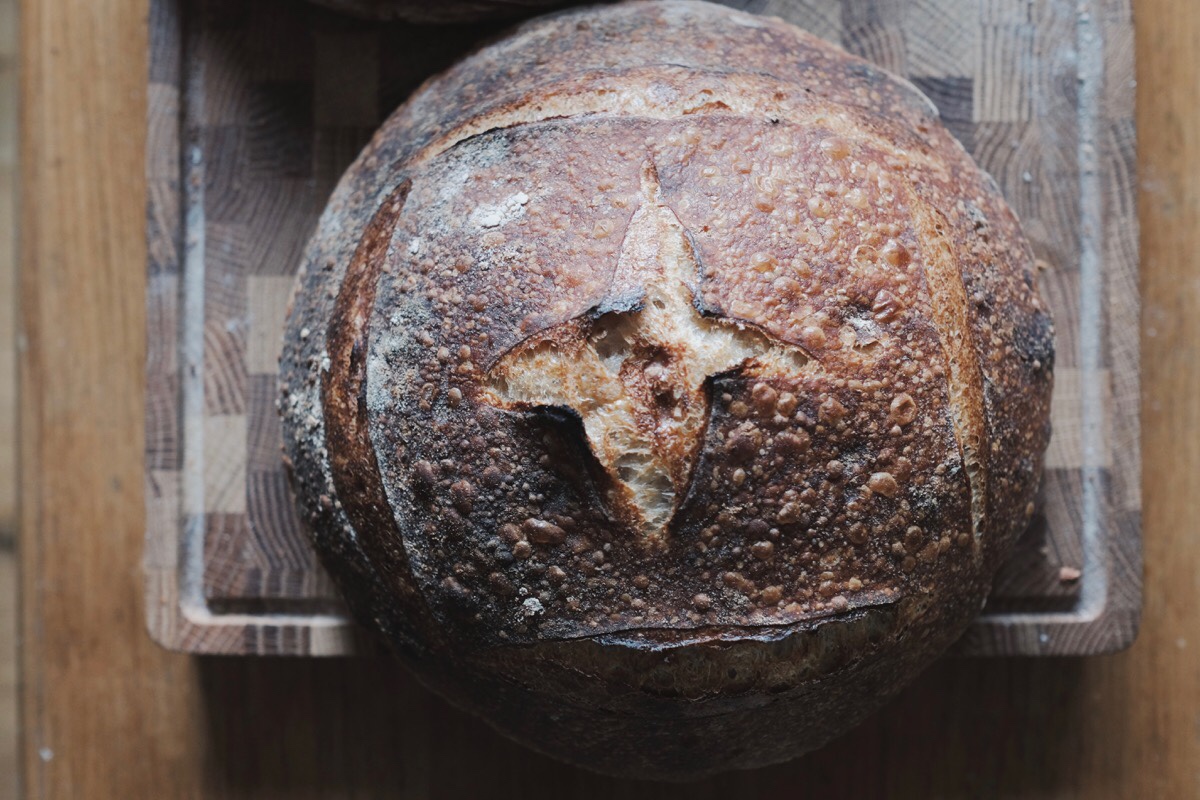
The results I’ve had with this have been brilliant. My dough feels stronger, shapes easier - with less flour - and holds its shape far better. It‘s even easier to score - giving me the most decorative loaves I’ve done yet.
-
Flour Cheat Sheet
Flour Description Flavours Baking Properties Strong white flour (hard wheat) Made from hard common wheat, meaning higher protein that ‘plain’ flour. Typically this is around 11-12.5% protein in the UK. - - Very strong white flour Made from harder wheat, typically 13%+ in the UK. - A higher gluten content than softer wheats can result in tougher doughs. Emmer Ancient grain made from hard durum wheat, ~12% protein. Often used for pasta, sold as 00 (low extraction) flour. Earthy flavour, creamy in texture. Delicate gluten, but higher protein than common wheat. Einkorn Oldest ancient grain, softer member of the wheat family. ~11% protein. Grassy and nutty. Delicate gluten structure, sticky when hydrated and quick to ferment. Spelt Ancient grain, heirloom of wheat, ~14% protein. Easy to digest and nutritional, more vitamins than other flours. Milky, honey flavours Not great for high hydrations and long rising times (acid breaks down the gluten quickly) Kamut (Khorasan) A type of durum wheat, used by the Egyptians. ~15% protein. Buttery and sweet Very high in protein Semolina The flour of modern, common durum wheat, very common in pasta and pizza Buttery and sweet - Barley Barley is a grain that is high in fibre and low in protein - ~8%. Subtle earthy flavours, sweet when roasted Not great for bread on its own due to low protein, could be made into a porridge and added to a dough. Rye Rye is a blue/gray grain that has a vegetable gum in it that mimics gluten, it is very high in fibre and contains around 8% protein. Often used in scandinavian areas for dense breads. Tangy and grassy Slick, sticky and able to bind water. Buckwheat Buckwheat is neither a wheat nor grain, it is a pseudo-cereal, related to rhubarb and sorrel! It has high levels of starch and oil, protein of around 11% and no gluten. Nutty - Beremeal And ancient kind of barley that is grown in Orkney. Earthy, nutty - -
Less Water
At the start of this week I was feeling baking-confident and tried baking two loaves of bread at 80% hydration (800g of water to 1000g of flour, I typically go for 75%). It didn’t go well. The bread was hard to shape and I went out for the afternoon and left the dough bulk rising far longer than planned. Shaping the loaves proved to be difficult and when it came to baking, the dough had stuck awkwardly to the baskets - something I thought I’d learnt to avoid.
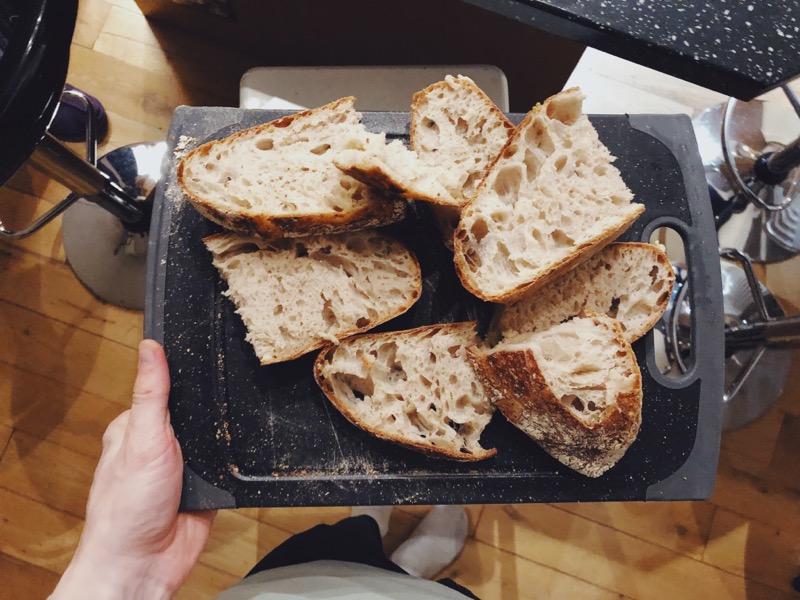
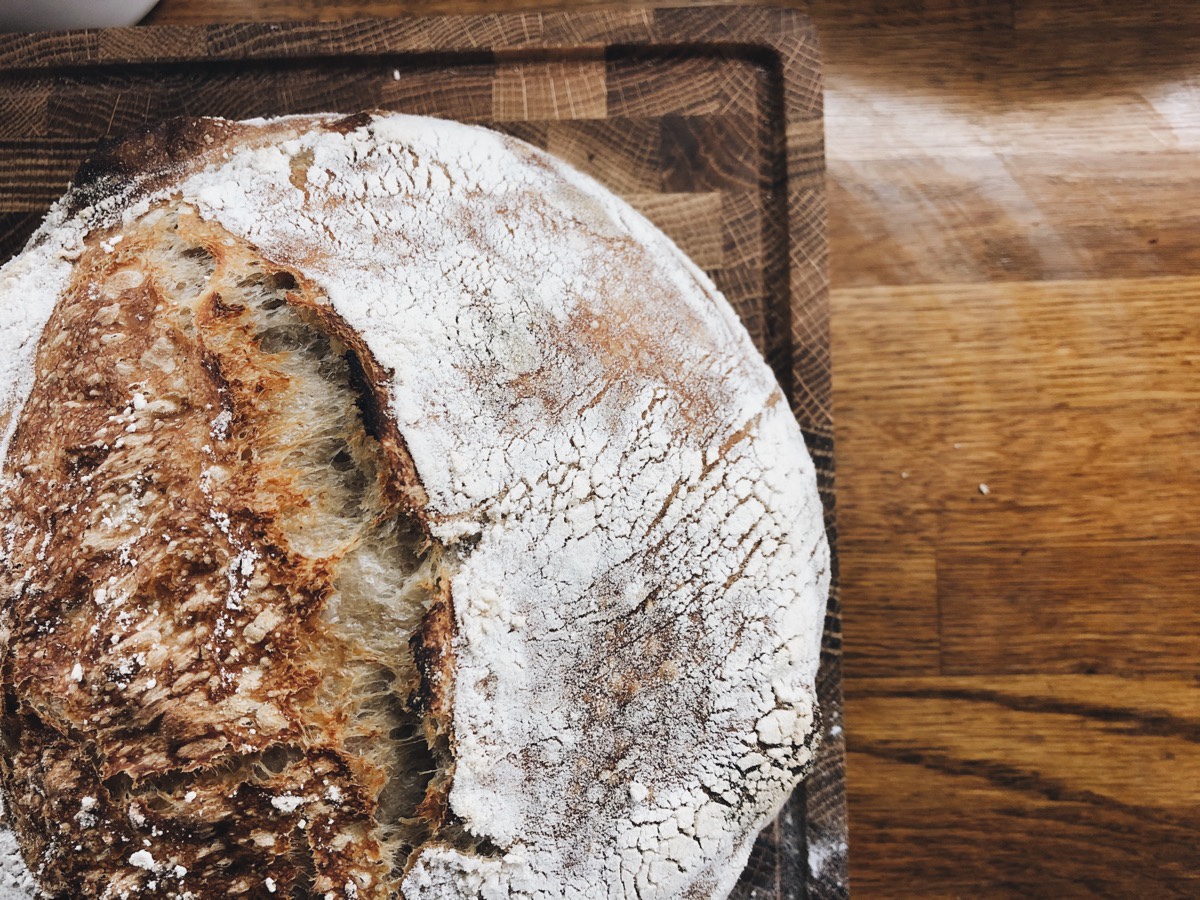
To make up for this, on Thursday, I made two loaves at 60% hydration to see how well I could shape them. I was delighted with the results.
The bread cut easily and rose delightfully in the oven. I dusted them with rice flour prior to scoring in order to accentuate the scores.
As much as I enjoyed its shape, I must say that I prefer the flavour of my higher hydration loaves. So, today I’ve got another 75% hydration dough rising, I’m keen to shape it just as well.
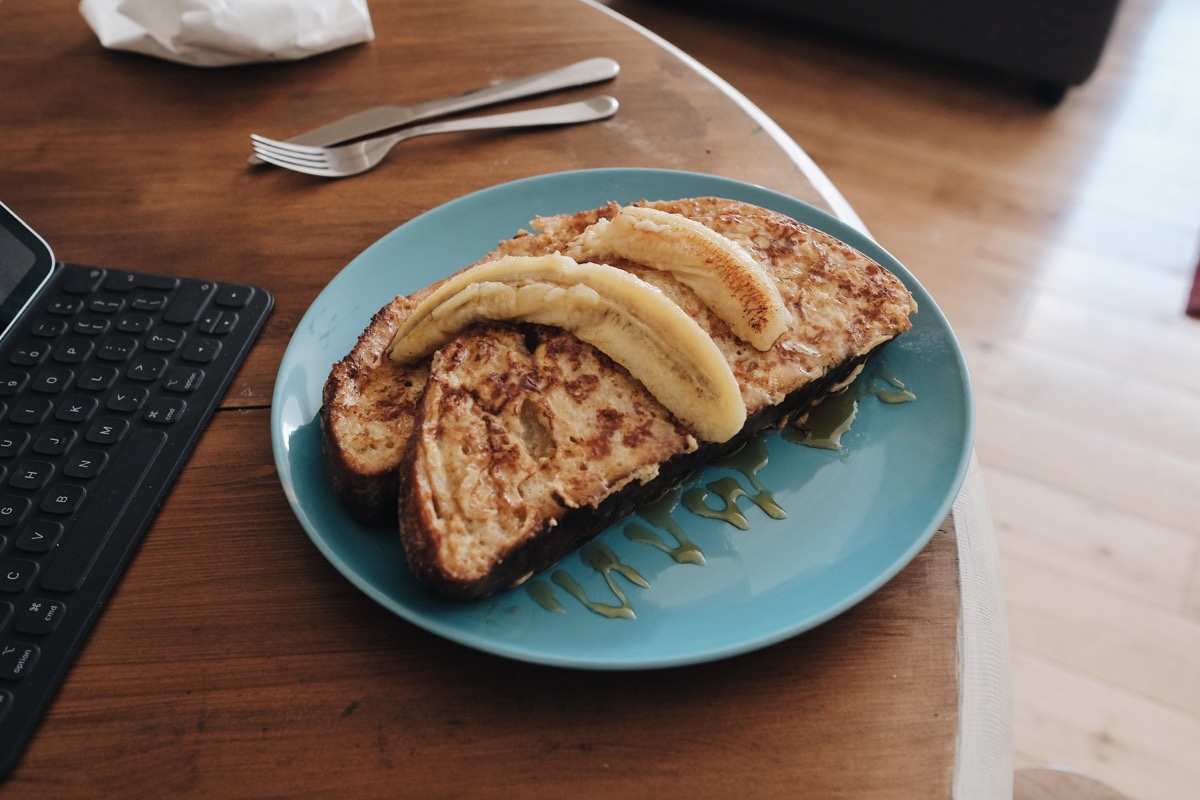
As for the 60 percent well shapen loaf however, this morning I turned it into french toast using the recipe in Tartine Bread. It was incredible.
-
Weekday Baking in a Cold Kitchen
It’s been just over a year since I started baking bread and I’ve almost certainly baked more in the last month than I had in the previous twelve. There are two reasons that I’ve been doing so much more recently.
The first, I have documented in my previous post. It is that I am noticing tangible improvements in the bread that I am making. Spurred on predominantly by my reading of Tartine Bread, my loaves are closer to where I want them to be, and the best way to improve is to bake again.
The second reason is probably more significant. It is that I have been adapting recipes to suit my schedule. I mostly work 9 till 5, Monday to Friday and although good bread does not require much hands on time, it requires moments of attention at often inconvenient intervals.
Because of this restriction, I used to only bake on weekends. Recently I’ve been working with the following schedule:
Tuesday Evening:
Feed starter as normal. 100g of strong white flour and 100g water at 35-40 degrees). - my flat sits at around 15 degrees in the winter so I’ve been using particularly warm water in order to get good activity.
Wednesday Morning:
Prepare levain. 150g of strong white flour, 50g whole wheat flour and 200g of water at 26-32 degrees.
Wednesday 5pm:
Mix 900g strong white flour, 100g whole wheat flour and 700g water at 26-34 degrees. I place this in the oven (turned off) to autolyse next to a jug of water as hot as my tap will go - roughly 45 degrees. This is done to keep the dough much warmer than my kitchen will allow. I aim for the inside of the oven to be about 28 degrees.
At this point, I check my levain for bubbles and growth. If it is not showing many bubbles on the surface, then I place it in the oven beside the mixed dough in order to accelerate activity.
Wednesday 6pm:
Add 50g of warm water, 180g of the levain and 20g salt to the mixed dough. Mix well by hand and place back in the turned off oven.
Wednesday 6:30pm:
Wet your hand and stretch one side out and over itself. Repeat for each side of the dough.
Thursday 7:00pm:
Repeat stretching and folding.
Thursday 7:30pm:
Repeat stretching and folding.
Thursday 8:00pm:
Repeat stretching and folding.
Thursday 10pm:
Tip dough out onto the counter and preshape using a dough knife and light dusting of flour where necessary.
Thursday 11pm:
Final shaping loaves and placing into bread baskets. Place the baskets in the fridge. Either bake the next morning before work (requires preheating the oven around 6am) or leave in the fridge till after work and bake when you get in.
I’ve done this routine several times over the last few weeks and always enjoyed the end product. Some days when I’m going out in the evening, I’ll use my mixer to thoroughly mix the dough for 10-15 minutes after the autolyse in order to accelerate gluten growth. I’m hoping that this can be used somewhat as a substitute for multiple sets of stretching and folding. However, I’ve not experimented much in comparing methods. No matter what, the end result is still bread.
-
Learnings in Bread
The past few months I’ve been baking various breads and enjoying the results. The taste has always been good (side note: when doesn’t bread taste good), but I hadn’t actually improved my skills in months.
I’m mostly keen to improve the neatness of my loafs. To do this, there are two things I think I need to improve.
- The height and ‘spring’ of my bread when cooked
- The scoring of the bread.
My reading materials in the past have been The Perfect Loaf, Dan Larn’s Site, Flour Water Salt Yeast by Ken Forkish and various other online tutorials.
This week, I picked up three new things that got me really excited to bake more; three things that have already helped me bake what I think are the best breads I’ve ever made.
The first is an ambient thermometer to give me a better understanding of the climate of my kitchen. I often find recipes recommending things like “if your kitchen is cooler (18-20°c) then use slightly warmer water” and I always think “how can 18-20 possibly be cool?!”. I always ended up sticking to the warmer waters, knowing that my flat is an ice box. However, I always just winged it with the warmer water and called it day.
Now, by being able to monitor the temperature right next to my dough at all times, I’m feeling much more confident in adjusting recipes to suit my needs. I actually created a microclimate in my oven to simulate warmer temperatures by leaving a small bowl of water at the bottom of it and closing the door with my dough and starter inside. This worked perfectly and allowed me to bulk rise my dough in 3 hours at 26°C - something I imagine would have taken closer to 5 or 6 hours with the 15° ambient temperature I now know my kitchen rests at during this time of the year.
The second thing I bought is a batard banneton. Before this, I only had boule bannetons and consequently baked round loaves. I think my favourite bread aesthetically is a well scored batard, I’ve always wanted to try and create a strong ‘ear’ using some good scoring. This new banneton will hopefully give me a shot at this. And, it’s not all about the looks - I think a banneton is the better shape for most situations. With a banneton you get more equally sized slices for the full length of the dough - as opposed to a boule where you have smaller pieces at the end and overly large pieces in the middle.
The final thing I purchased - and what I consider to be one of the best purchases I’ve ever made - is the Tartine Bread book by Chad Robertson. I had considered picking up a copy of this for the last year or so but didn’t bite the bullet until I noticed that it’s available as a digital copy for only £3.79. As soon as I realised this I made the purchase and read it virtual cover to cover in one evening.
In this book, Chad explains the perfect amount that you want to know about the classic country loaf of bread. He explains why how each period of rest works and how the product should look, smell and feel at each stage in a way that is scientific, yet approachable.
The highlight for me was reading about how to correctly shape dough prior to proofing. Since I started baking bread almost a year ago I have had issues with the dough sticking to the proofing baskets. This was happening no matter how much flour I was using and how much tension I built in the dough. Through reading the descriptions in Tartine Bread, this is no longer an issue for me. I realised that I’ve been shaping my bread and then placing is seam side down into the baskets. This side has next to no tension no matter how much you create with nice folding. Now, I definitely could - and probably should - have noticed this through the other books and sites I’ve read, but the entire folding process makes so much more sense to me after reading Tartine. I have far fewer issues dealing with sticky dough, which often lead to me over flour-ing the worktop; I now let the dough rest and know that it’ll be easier to work with because of this rest; and I know where to put the flour and when, whilst keeping it to a minimum. Before, I would just ‘use as little as possible’ as most other recipes say, until I inevitably added more flour at some point once some horrible sticking started).
It was great the learn how they bake a country loaf at Tartine, but another strength of the book is that it promotes baking ‘off piste’. Far too often when reading about sourdough and good breads, the author will say something to the effect of “adapt this as you like”. But they never explain what you could possibly adapt. The prescribe measurements to the 10th of a gram, warn you of a 15 minute window that you have to make and demand a preciseness of temperatures at all stages that expels all thoughts you had for ‘adapting the recipe to your needs’. Tartine on the other hand embraces adaptability and encourages experimentation to suit your needs. There is a whole section of the book dedicated to friends of the author who have each made their own adaptions to the original recipe in order to suit their schedule and their needs. In the past I had never baked a sourdough loaf during a work week as I thought my starter would not have time to mature and that I could never get a good enough rise in the short hours I have before bed. However, the day after I read Tartine, I mixed two loaves impromptu after work and baked them the next morning before heading to the office. They were the best loaves I had ever made.
Over the next few weeks I plan to bake a bunch more. I’m going to try a keep a short log of ambient temperatures and times that I used for each bake in order to find a method that works best for me.